In this article, we’ll show you how to make a piano app using MIT App Inventor. Kids can create this app in a very short time and can be created by kids who have just started coding. We’ll use the MIT App Inventor platform to create the piano app. MIT App Inventor is a cloud-based block-based platform for creating apps for Mobile phones.
Building a piano app is a fun way for kids to see how taps on a phone screen can turn into music. At SkoolOfCode, students explore block-based app development with MIT App Inventor and learn how to design simple Android apps step by step.
Requirement:
- Computer/Laptop with internet connection
- Google account to sign in to MIT App Inventor
- Smartphone (Android or iPhone) for live testing
App video
Let’s get started……
First, log in to MIT App Inventor using the Google Account through this link. Click on the “Create Apps” button to log in to MIT App Inventor.

Once you log in, click on the “Start new project” button to create a new project in App Inventor and name it “Piano”.
Concepts to be covered
- Screen orientation
- Visible/Non visible component
- Layout Arrangement
- Button component – Touchdown event
- Play sound using sound component
- Add media files to the project
Before we start dragging buttons and sound components onto the screen, here is a small tip for parents. If your child enjoys this kind of hands-on building, you can see how a free trial class at SkoolOfCode works and meet the teachers who guide kids through projects like this piano app.
Design the front end of the app
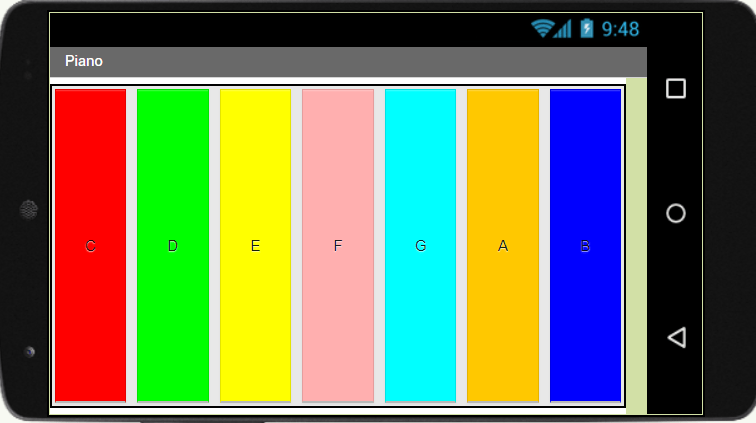
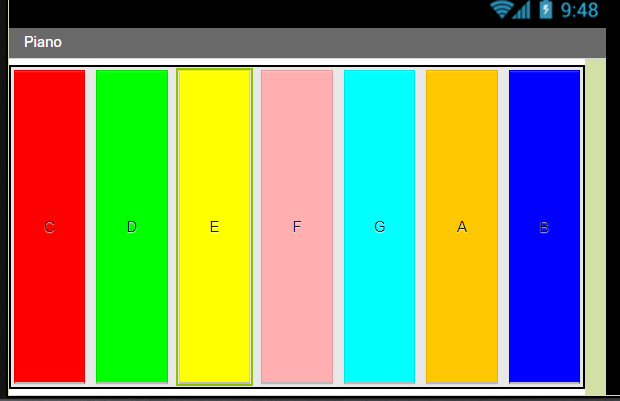
To make an app, we first need to design the front end of the app which is the User Interface of the app. For the Piano app, the design of the app is shown below.
To design the front end of the app, we need to be on the design view of the MIT App Inventor which can be switched from the “Designer” button on the top right corner as shown below. When we create a new project, we are on the designer view by default.

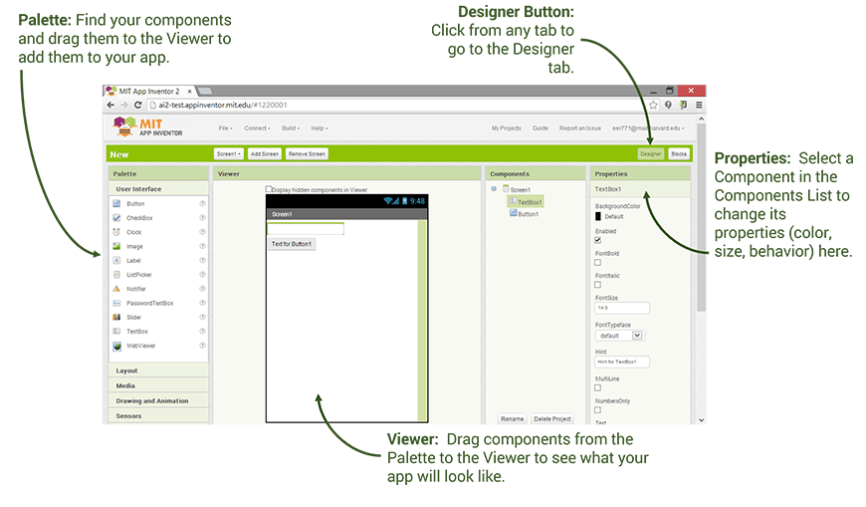
The designer view is divided into 4 different sections
- Palette
- Viewer
- Components
- Properties
Palette: Palette section comprises of different types of components that can be added to your app. For e.g Button, Label, Sound e.t.c.
Viewer: Viewer section is where we can drag the components from palette and see how the app looks like.
Components: The Component section lists all the components added to the app.
Properties: Properties section can be used to change the properties of the component added to the app.
Properties of the Screen
First of all, we will change the properties of the screen. For this in the properties section of the screen, scroll down and click on the “ScreenOrientation” property. Select the “Landscape” value from the drop-down as shown below.

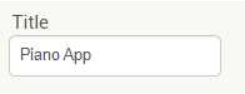
Also, change the screen “Title” property to “Piano App” as shown below:
Upload media files
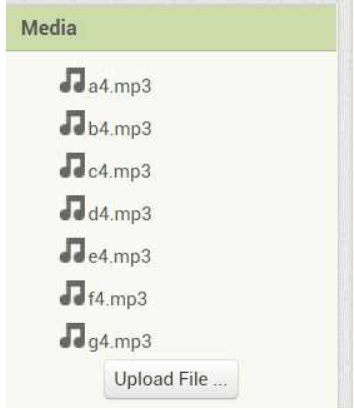
Now, we will upload the audio files required to play the notes. You can download the basic notes(c,d,e,f,g,a,b) audio file from the internet. For reference, the audio file can be downloaded as a .rar file from this link. Extract the .rar file and get the individual notes mp3 file from there.
Now, from the media section designer view upload the mp3 files by clicking on the “Upload File…” button as shown below:
Add Visible components
A visible component is a component that can be added to the screen and is visible to the user on the phone screen, for e.g Button, Label, HorizontalArrangement etc.
Horizontal Arrangement: This component is under the “Layout” drawer and is used to arrange the components horizontally inside it.
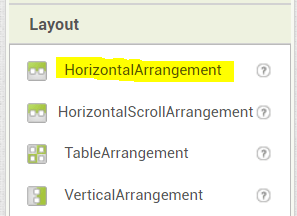
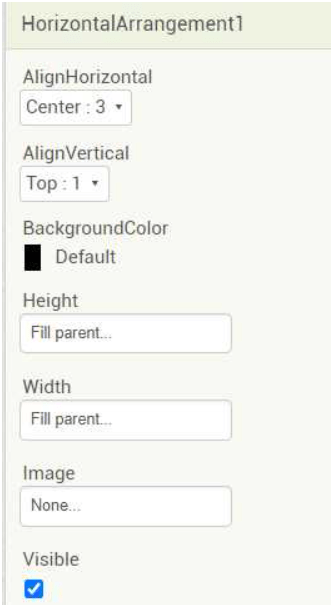
Drag a “HorizontalArrangement” component from the “Layout” drawer to the screen and change the properties as shown below.
Now drag a “Button” component from the “User Interface” drawer and drop it inside the horizontal arrangement. Rename the Button to btnC from the “Rename” button in the component section.
Change the properties of the button component as mentioned below:
•Change the background Color to any color of your choice.
•Change the height and width property to Fill parent.
•Change the Text property to ‘C’.
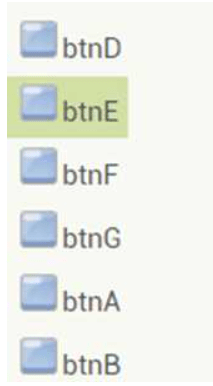
Now add 6 more Button components, add it in the order shown below and rename it to name shown below.
For all the buttons added, change these property – Color, height, weight and Text
- Color can be changed to any color of your choice
- Set the height and width property to Fill parent
- Change the text property to D, E, F, G, A, B respectively for all the buttons.
The design should look as shown below:
Add Non visible component
A non-visible component is a component that can be added to the project but is not visible on the screen of the phone. It is displayed at the bottom of the screen. We can change the property and add blocks for the non-visible component.
Now, we add the “Sound” component from the “Media” drawer which is a non-visible component to play the sound.
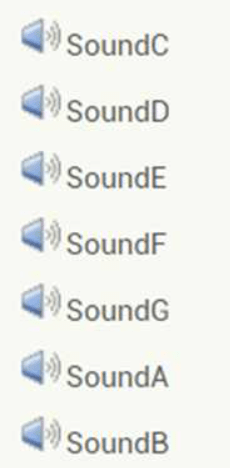
We drag 7 sound components from the “Media” drawer and drop them on the screen which will appear at the bottom of the screen. Now, rename the sound components as shown below:
Set up Sound component
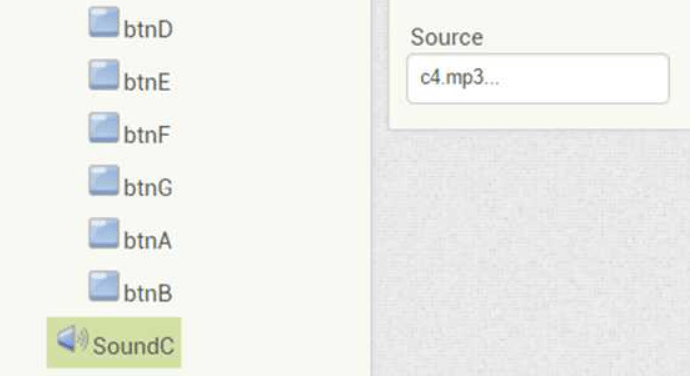
For each sound component, select the mp3 file from the source property. The mp3 file should be for the same sound component like c4.mp3 should be source for SoundC component. Do this for all the other sound components.
With this, we complete the design of the piano app. Now, we will add the behavior to the app to play the notes when the button is touched down.
Adding blocks for the component
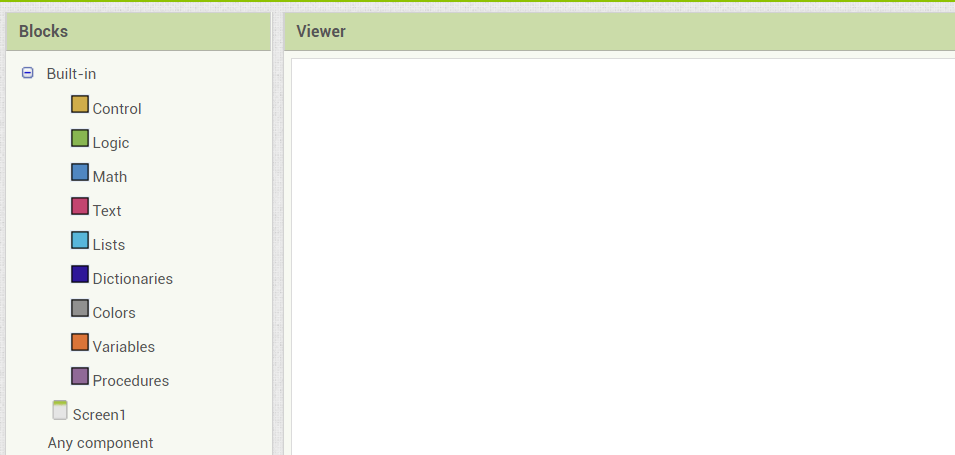
Now, let’s add the behavior to the app. Click on the “Block” button from top right corner and move to the Block View.
Block view is divided into 2 sections
- Blocks Pane: Shows a list of programming blocks which is again divided into two categories as shown below.
- Built-In Blocks
- Component Blocks
- Viewer Pane: It is used for developing logic using blocks by putting them together.
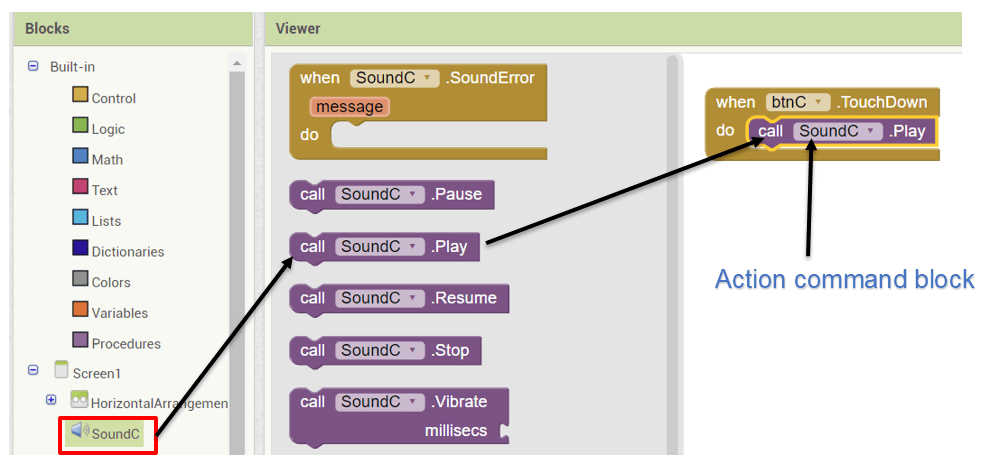
The notes for a particular button(C) are played when the btnC is touched down.
For this we get the TouchDown event handler for the button btnC as shown below.
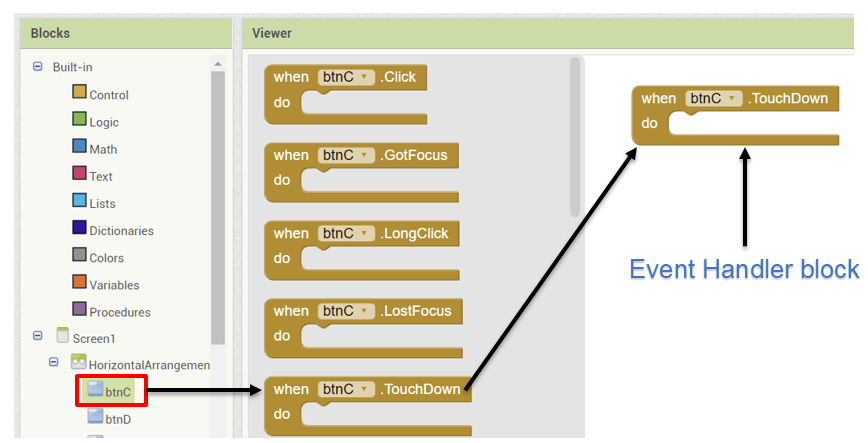
To play the notes, we drag the action command block from the sound component and add it in the event handler block as shown below.
Time for testing
Now, let’s test the app using the AI companion.
First, we need to download the MIT AI2 Companion app to our phone from the play store(android) and the app store(iOS).
Once the app is downloaded we connect the phone by scanning the QR code or typing the code from the MIT AI companion app on the phone.

The app should be visible after the processing is complete. Now enjoy the piano app by touching the button to play the notes.
With this app, kids will learn the basics of app inventors. They will learn about visible, visible components and design the basic user interface. It will help them understand how to upload resources to the project and play the music using the sound component. At SkoolOfCode, we offer online coding classes for kids where students use live code to find logical and inventive solutions to problems. So, why wait and Book a FREE trial class today.

To learn and get experience in app development, we have a Mobile App Development course, and detail of the course can be viewed from here.
By – Ms. Vineeta Chaudhary, an Educator at SkoolofCode with B.E in Computers. She is an expert in block-based coding which includes platforms, like Scratch, MIT App Inventor, and Thunkable.