
Building web pages is fun and easy. It doesn’t matter if you’re 8 or 80, coding makes kids and adults alike more creative and helps us to solve problems differently. Aashi at Skoolofcode built a beautiful webpage with image and CSS while learning web development. By adding an image and using simple CSS styles on the image, her homepage looks beautiful.
Let’s learn how did she build the webpage with images.
Prerequisite
To follow this tutorial, you should be familiar with HTML and CSS. If you’re not, no worries, we’ve got you covered. You can refer to the Build a simple webpage using HTML and CSS blog to learn the basics of HTML document and CSS.
Build a simple webpage as follows so we can add an image to it:
The code for the above webpage is as follows-
<html>
<head>
<title>A Day At Space Needle</title>
</head>
<body style="background-color:lightblue;">
<h1 style="color:blue;text-align:center;">A Day At Space Needle</h1>
<p style="color:red;font-size:50px;font-family:Bradley Hand ITC;text-align:center;">
    A day at Space Needle in Washington was definitely worth the time!<br>
    I went up on the observation deck of the tower and the view was absolutely amazing!
    And the food was great, too!<br>If you are ever in Seattle, be sure to visit the Space Needle! You won't regret it!</p>
</body>
</html>
Ready with your webpage? Now let’s add an image to it.
Adding an image in webpage
Adding an image to a webpage is easy. All you need is the image’s URL. You can get some images from photo stock websites like Unsplash, Shutterstock or you can choose your image. Now that you have an image, let’s add it to your webpage and make it look beautiful!
In the <body> of your webpage, add an <img> tag as follows:
<img src="https://upload.wikimedia.org/wikipedia/commons/2/2f/Space_Needle002.jpg" alt="Space Needle Washington">[Image Source: Wikimedia Commons]
Replace the value of src with the URL of the image you want to use and see your webpage come alive! If you want to use an image from your system, you should use the file path instead of the URL.
For example, if you want to use an image from your computer named mypicture.jpg, you would use the following code:
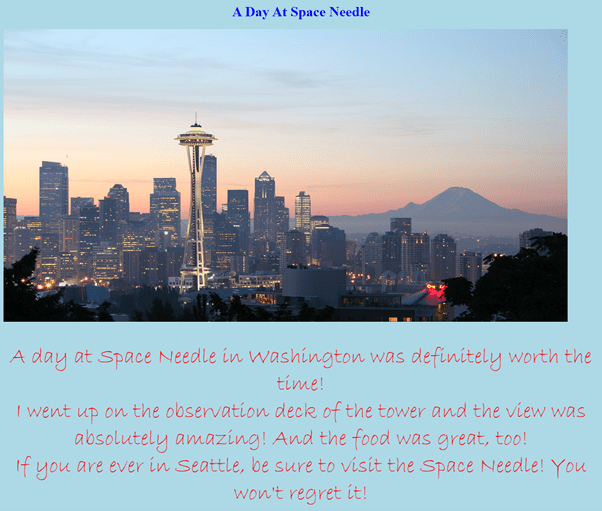
<img src="C:\Users\Aashi\Pictures\mypicture.jpg" alt="Space Needle Washington">Did you see your image on the webpage? Here’s how my webpage looks now-
Styling an image with CSS
Now let’s add some CSS to make it look beautiful.
Resizing an image with CSS
Considering how do you make your image small or big? You can resize an image by using CSS.
Within your <img> tag add the style attribute as follows:
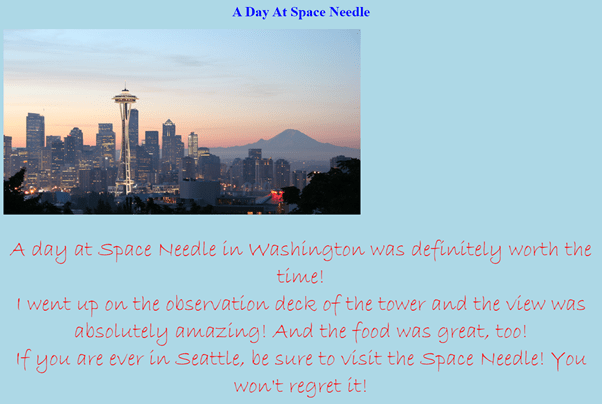
<img src="https://upload.wikimedia.org/wikipedia/commons/2/2f/Space_Needle002.jpg" alt="Space Needle Washington" style="width:600px;height:400px;">So now the webpage should look like this-
Pixels or Percentage?
When you resize the image, you might want to use pixels or percentages.
Pixels are fixed measurements and they won’t change when the user resizes the browser window.
Percentage on the other hand will resize according to the size of the browser window. If you want your image to resize when the user resizes their browser use percentage unit.
Applying border to image using CSS
You can also apply a border to your image by using CSS. Use border property in style attribute of your img tag as follows:
style="width:60%;height:auto;border:2px solid darkred;"As you must have observed the value of border property has 3 values border-width, border-style and border-color.
border-width
This specifies the width of the border. You can use any of the units like px, em or % to specify the width.
border-style
This specifies the style of the border. Different styles of borders supported are Solid, Dashed, Dotted, Double, Groove, Ridge, Inset, and Outset
border-color
RGB values to specify the color.
Here’s how my webpage looks now with a dark red border around the image-
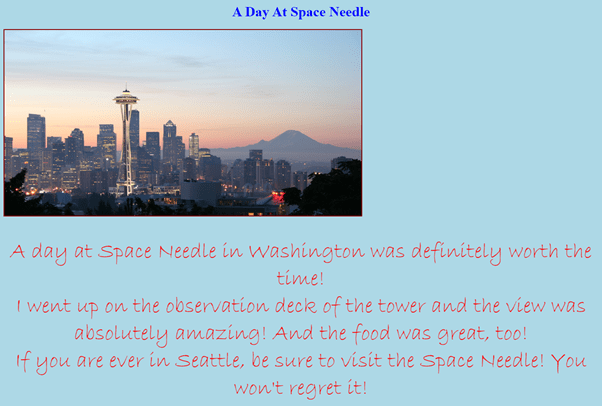
Image with rounded corners using CSS
To make an image to have rounded corners use border-radius property as follows-
style="width:60%;height:auto;border:2px solid darkred;border-radius: 10%;"Here’s how my webpage looks now-

Try changing the value of the border-radius property as follows and see the difference-
border-radius: 5% 30%;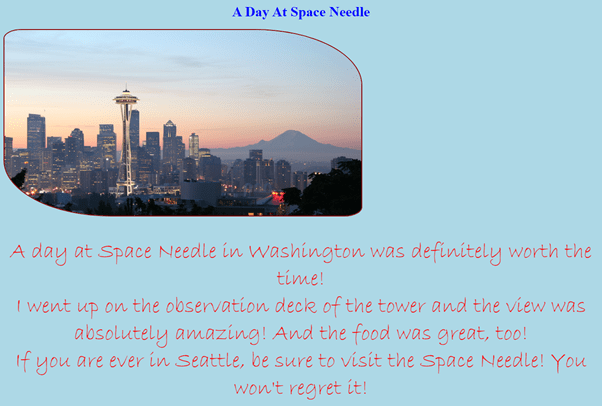
So what just happened? We applied different round amounts on the opposite corners-
- 5% will round the top-left corner and bottom-right corner
- 30% will round the top-right corner and bottom-left corner
You can try giving 4 different values for each corner.
Opacity of image
We can also make the opacity of an image to be more or less by using the opacity property.
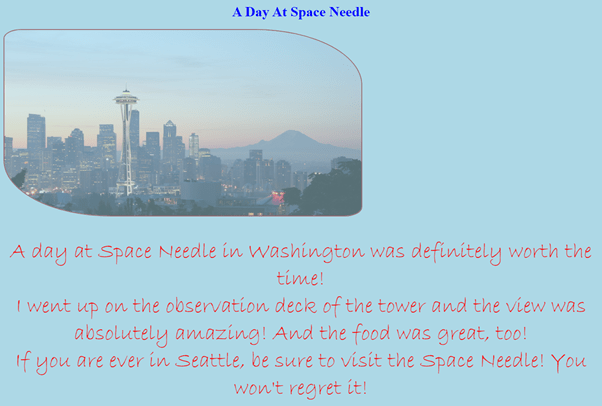
style="width:60%;height:auto;border:2px solid darkred;border-radius: 5% 30%;opacity:0.5;"opacity: 0.5 will make the image 50% opaque and opacity: 1 will make the image completely opaque.
Here’s how my webpage looks now with a 50% opacity on the image-
This was a great introduction of having webpage with image and CSS. As you continue to learn more about CSS, you’ll be able to further customize the look and feel of your images and CSS styles. Have fun experimenting! 🙂
Conclusion
In this tutorial, we’ve learned how to build webpage with image and CSS styles. We saw how to resize it using CSS. We also saw how do we apply a border to an image with CSS, how we make its corners rounded and how we change its opacity. Hope you’ve found this tutorial useful. Happy coding!