This summer engage your kids with some Making, Science and Fun all rolled into one activity with this DIY Kaleidoscope!
DIY Kaleidoscope
What is DIY? It stands for “do it yourself” and is a great way to make things with your own two hands. There are so many benefits to getting kids involved in making and crafting activities from a young age. It helps with fine motor skills, problem solving, creativity and can spark an interest in different areas such as STEAM (Science, Technology, Engineering, Arts and Math’s) in this case.
Kaleidoscopes are an amazing way to explore patterns in light, colour and shapes and have been around since the early 1800s. This project requires some adult supervision, but kids will love getting involved in making their own kaleidoscope.
What is a Kaleidoscope ?
Kaleidoscopes are such an intriguing toy, and they’ve been around since the 1800s. They’re perfect for kids who love to explore patterns and colors, and they’re also a great way to teach them about light refraction.
A Kaleidoscope is an optical instrument with two or more reflecting surfaces tilted to each other at an angle so that one or more (usually three) objects on one end of the mirrors are seen as a repeating pattern on the other end. By rotating the kaleidoscope, different patterns are observed.
How Does a Kaleidoscope Work?
Kaleidoscopes work by light reflecting off mirrors placed at specific angles inside the tube. This creates the illusion of symmetrical patterns. The principle behind a kaleidoscope is simple – it’s just light reflecting off of mirrors! But the results can be mesmerizing, and it’s a great way to teach kids about optical illusions and physics. The phenomenon of total internal reflection can be observed in a kaleidoscope. It is the reflected light that makes beautiful patterns in a Kaleidoscope.

What is total Internal reflection ?
Total internal reflection is the phenomenon which occurs when a light wave travels from a denser medium to lesser denser medium. For example, some examples of total internal reflection seen in real life are formation of mirage and Sparkling of diamonds.
Let’s do some Math for Kaleidoscope
First, let’s work out the dimensions of the mirrors we need. We’ll start with an equilateral triangle, which means all sides are equal.
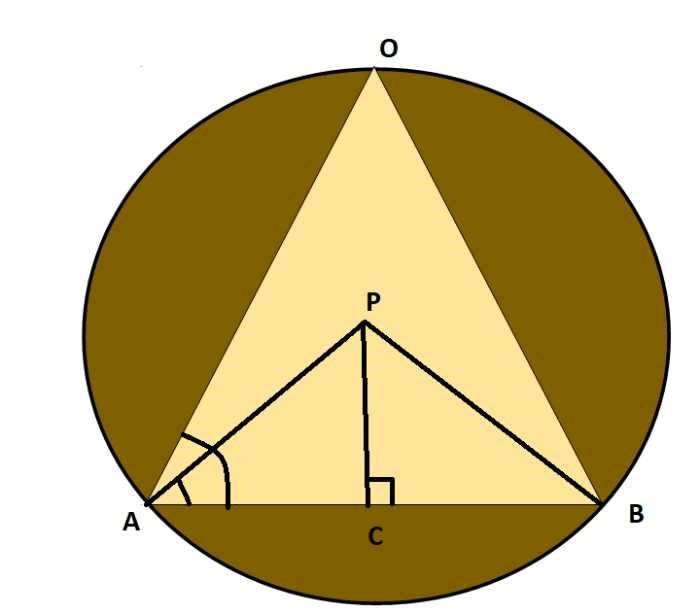
First, we will start with the cardboard roll which is cylindrical in shape. Measure the diameter of the cardboard roll. Depending on the diameter of the cardboard roll we need to calculate the sides of the mirror. The arrangement can be represented through a picture shown below

Triangle AOB is an equilateral triangle and the circle is passing through all vertices of the triangle
where OA=AB= OB i.e. equal sides of the triangle
Point P is the centre of the circle as well as the triangle.
We will take some arbitrary value for the cardboard roll diameter. Assuming the diameter is 8 cm (standard diameter of a Pringle can) we need to calculate the width of the Mirror.

As the point is the centre so we can say that
AP= PB = Radius of circle
If the radius is 4 cm then the PA = PB = 4 cm
Also, AP and PB bisect angle BAO.
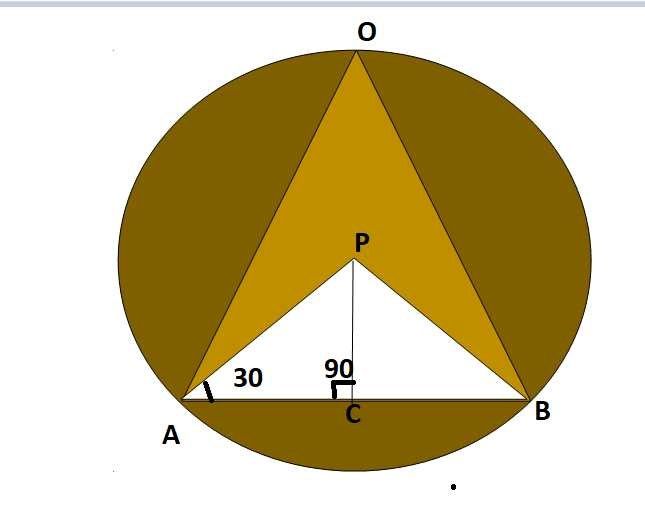
Consider triangle APC
PC is perpendicular to AB . Therefore angle PCA =90 degrees
Angle CAP =1/2 of Angle CAO= 60/2= 30 degrees
The sum of all the angles of a triangle is 180 degrees
so Angle APC= 180- (90 + 30)= 60 degrees
In triangle APC
AP =radius and AC=1/2 of the side of the triangle =s/2 where s is the side of the triangle
the angles are in the ratio 30 – 60 -90
This means the sides will be in the ratio 1:
1: (3)1/2: 2
Now if 2 corresponds to r then the side opposite the 60-degree angle can be written as
½ r * (3)1/2 (1)
or s/2 (2)
Comparing equations 1 and 2
we get s= r * (3)1/2
This is the relationship between radius of the circle and the sides of triangle
side of triangle = 1.732* radius of the circle
This formula implies that for a standard Pringle cardboard roll of 8 cm diameter, the sides of the triangle are
4*1.732= 6.928 cm (3)
How to Make a Kaleidoscope ?
The beauty of kaleidoscopes lies in their simplicity. With just a few mirrors and some colorful objects, you can create an endlessly fascinating toy that will captivate kids (and adults!) of all ages. And the best part is, that making your own kaleidoscope is a really easy Science project that you can do at home with just a few materials.
You’ll need the following materials:
– A toilet paper or paper towel roll
– 3 small mirrors (you can get these at a craft store)
Dimensions of mirrors
Width can be taken slightly less than 6.928 cm as calculated in equation 3
Width 6.7 cm
Length 1 feet
– Tape
– Glue
– Scissors
– Colored beads, buttons, confetti, etc. (for filling the tube)
– Construction paper (optional)
Instructions:
1. Take a cardboard roll. Cut a portion of the cardboard roll
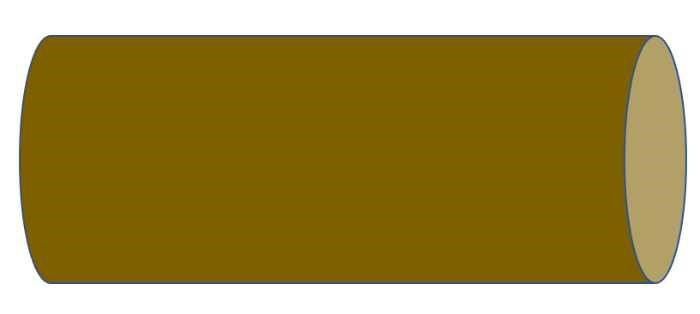
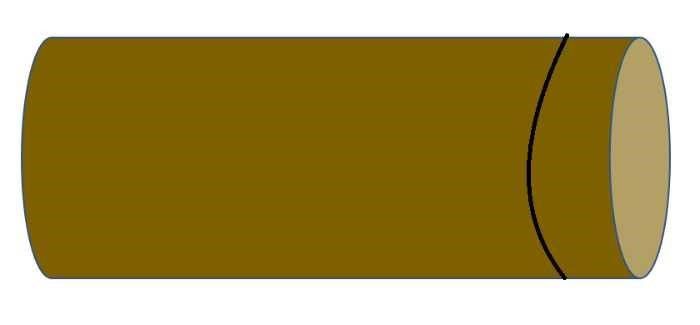
2. Glue the cutout portion of the cardboard roll with the plastic sheet. Put some beads or broken bangles inside the cutout cardboard roll. Close it with the plastic sheet.
3. Take three mirrors of equal size. Tape the mirrors together to form a triangular prism as shown. Look through the one end of the triangular prism and see the amazing patterns the mirrors reflect!

4. Insert the prism inside a cardboard roll and fix it with a glue gun or glue.
5. Tape the beads container on one side of the roll.
6. Now you can decorate your kaleidoscope
7. Use a colored sheet to make an eyepiece. You can cut the sheet in the form of a donut. This is used to close the other side of the Kaleidoscope.
Now your kaleidoscope is ready!!! Have fun!!!
Alternatively, if you don’t want to do the making stuff, you can still explore kaleidoscope patterns with some apps available for Android and iPhone. You can click different patterns with your smartphone camera.
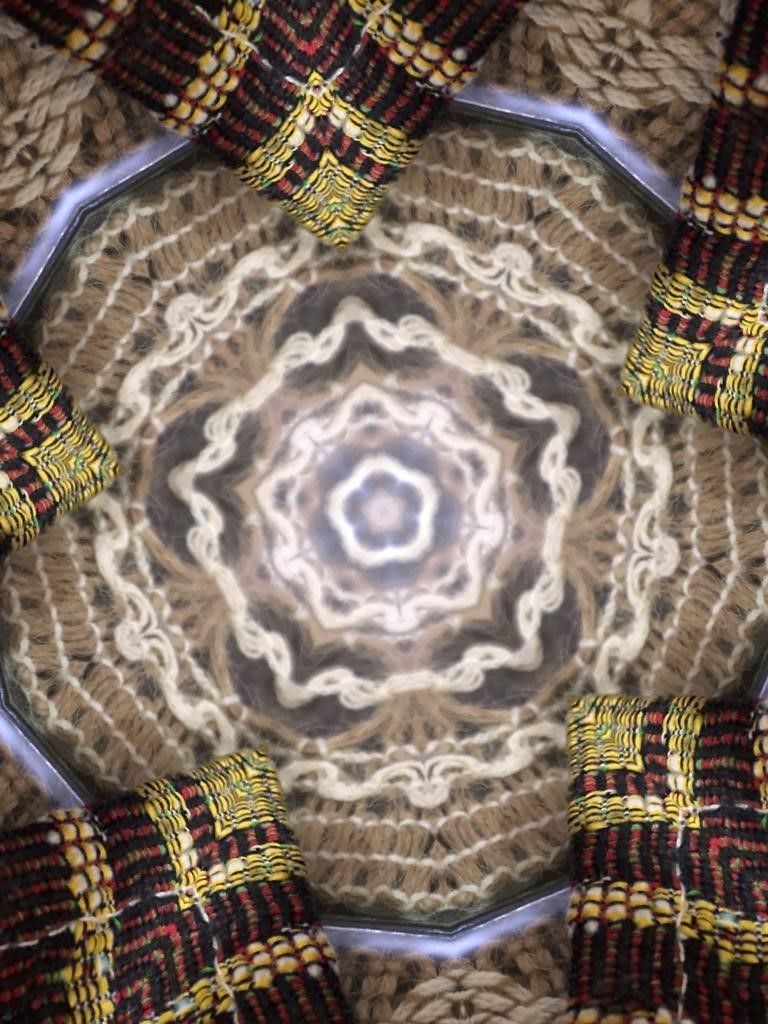
For iPhone, you can try the Kaleida Cam app and for Android, you can go for Kaleidoscope Painter Free. Check them out and have fun!!!
Concepts covered through Kaleidoscope
- Math (Calculation of sides of triangle)
- Science (Total internal reflection)
- Engineering (making through Engineering drawing process)
- Technology (Apps for Kaleidoscope)
- Arts (Enhancing aesthetics of our project)
Through this DIY project, the students can explore all the STEAM fields. At SkoolofCode, we believe STEAM is the next level of education that would help students to be future-ready. Our holistic approach to learning weaves together Science, Technology, Engineering, Arts, and Math. Our coding for kids courses are designed keeping in mind the importance of all these disciplines and how they are interconnected. If you want to know more about our courses, please visit our website.
Kaleidoscope is the perfect example of how Math, Science, Technology, Engineering, and Arts can be combined to create something beautiful and inspiring. So go ahead and make your own Kaleidoscope!!!
By – Dr. Kadam Bhambari , an Educator at SkoolofCode with Ph.D. and MTech in Electronics. She is an expert in Microbit, Arduino, and Artificial intelligence.
