Angad is a student of Skoolofcode who started learning Microbit. He was new to coding and was very excited to start learning coding on Microbit. He was a little surprised at how tiny it is, but he quickly got used to it. The best part about learning on Microbit is that you can see your work instantly as you go.
Angad started with the basics of coding and soon began making simple programs. He was so excited to display his name with Microbit. Let’s let’s see how he started learning coding on MakeCode Editor with a simple hello world project!
Let’s see what all we need for coding Microbit:
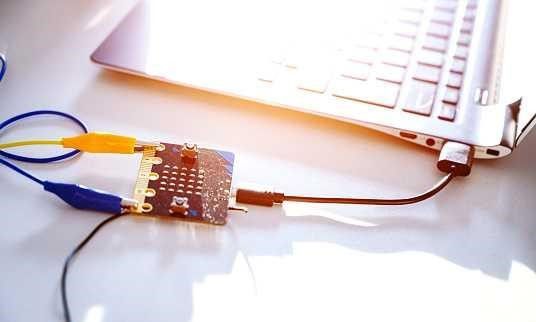
- First, we need a MicroBit board with a Micro USB cable (obviously).
- We will need an editor for coding and that is MakeCode Editor by Microsoft which you can download from the link here: https://makecode.microbit.org (It’s free)
- Code
What is Microbit?
Before coding Microbit let’s explore Microbit. Microbit is a pocket-sized microcontroller that sparks students to dive into the field of physical computing. Physical computing (Physical + Digital) is basically coding through which you can see real-time changes happening on a physical device. Physical computing also provides an opportunity to interact with the real world. Coding Microbit is a great way to get started with coding for beginners and robotics.

Coding is a sequence of instructions in a programing language that helps us tell our Microbit what to do. It’s just like teaching your Microbit English so it does whatever you want it to do :). Coding uses computer languages called “Programming Languages.” There are many programming Languages but here we will be using MakeCode Editor.
Coding Microbit is a great way to get started with programming and robotics.
What can you do on a MicroBit
Well, first of all, let’s have a look at what Microbit can do:
- Microbit helps students to start coding easily and quickly by using Block-based programming. You just need to drag and drop blocks to make the code. Learning with Microbit also provides a higher ceiling to learn Coding as the users can also program it using Python and Javascript.
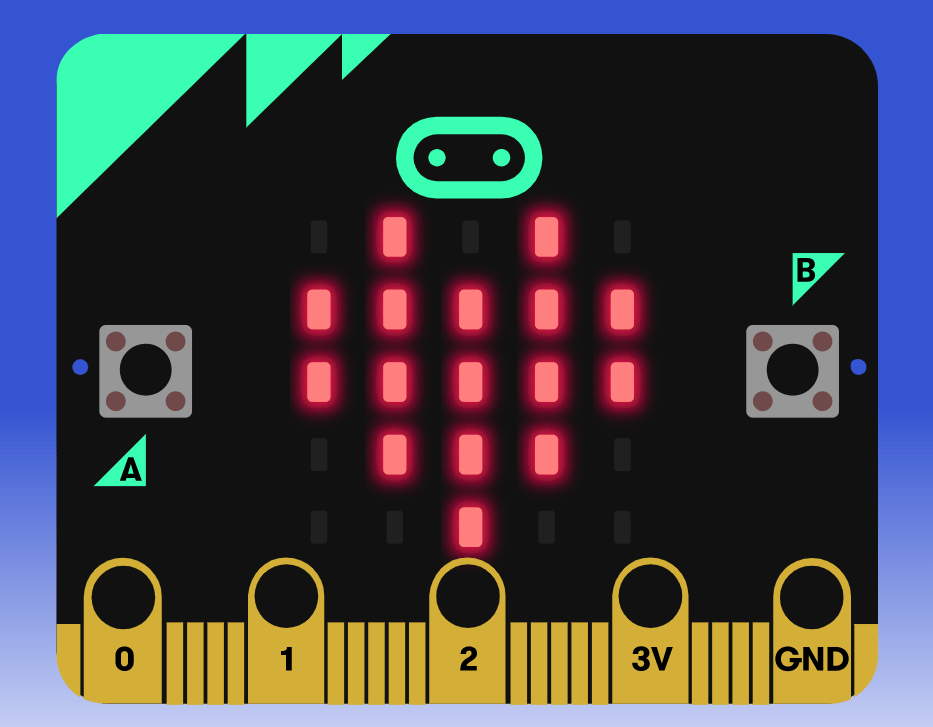
- Microbit lets users make projects on the go using sensors and actuators available on-board. It provides an onboard 5×5 LED display, a speaker, a motion detector (accelerometer), a light sensor, a built-in compass sensor, onboard buttons, and a touch-sensitive logo for interacting with the user.
- The MicroBit board can be powered from either a USB cable or 2 AAA batteries which is great for makers!
- One of the main features is that all of this exists in such a tiny package. The tiny board measures just 64mm by 38mm and with all its features it’s about as thick as two coins placed together!
The Microbit has a lot of built-in sensors which can be used without making any electronic circuits.
Introduction to MakeCode Editor
After the introduction to Microbit we can proceed ahead and can get started with Coding on MakeCode editor:
- Open MakeCode editor at https://makecode.microbit.org/
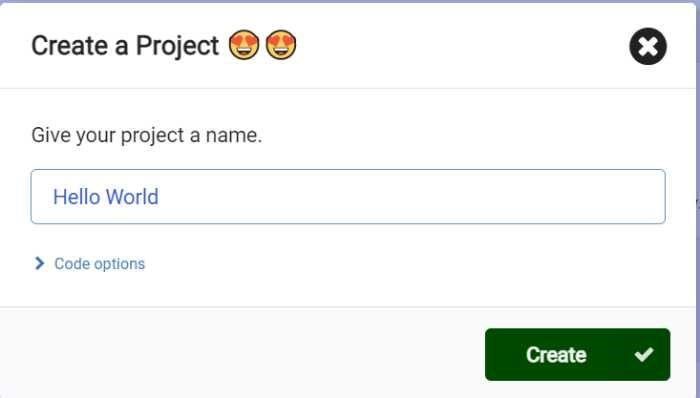
- Click on New Project on the top left corner of the MakeCode editor screen.
- Give your project a name. You can give any name to your project you wish.
Makecode Editor contains 4 panes: Coding area, Coding Blocks, Microbit Simulator, and Code download.
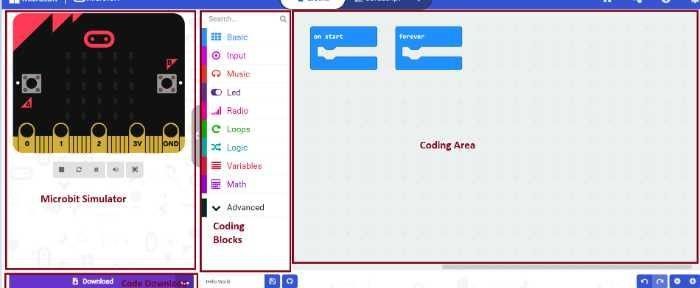
1. Coding area (Workspace)- It’s the main part of the Coding process where you will write your Coding commands to program the Microbit board.
2. Coding Blocks- consists of blocks to perform different tasks such as display images, read the temperature, read magnetic force, etc. Blocks are used in the coding area for different tasks.
3. Microbit Simulator- You can test your Coding Blocks in the Microbit emulator or Simulator.
4. Code Download Area- The Code can be downloaded on the Microbit through the download button in the Code download area.
How to download the Code on Microbit
- Connect your Microbit through Microbit USB cable to the USB port of your computer.
- Click the Download button. Specify the file name in the pop-up that appears to save the file in the Downloads section (or you can specify some other location on your computer).
- In order to complete the download process, you need to press the done button in the pop-up shown below.
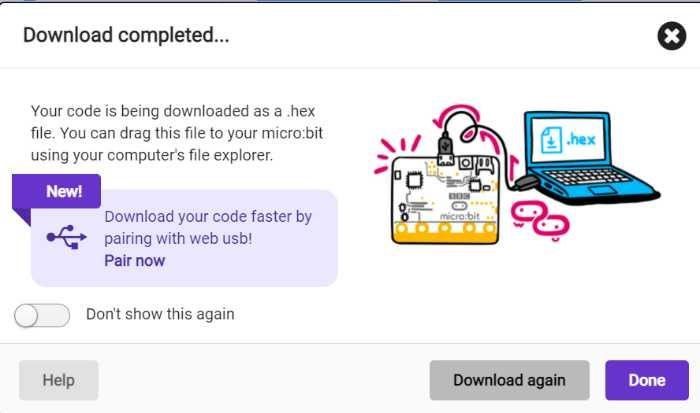
- The code is downloaded in the Downloads folder of your computer in a form of a hex file.
- The Microbit is shown as a Drive on your computer. Now copy the hex file from your downloads folder and paste it on the Microbit

Let’s start with a simple hello world program (text)
What All We Will Be Doing In This Project
We will be displaying text on the Microbit. So we will be using a show string block to display text. We want to display Hello world so we will write “Hello World” in the white area of the show string block. The show string block displays one character at a time.

Now we want that the text “Hello World” should be displayed when button A is pressed. So we will use the event handler “On Button A pressed”. The show string block needs to be stacked inside the event handler.

How to display numbers
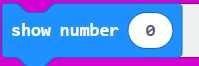
We will be displaying a number on the Microbit. So we will be using show number block to display numbers. We can write the number (which we want to display) in the white area of the “show number ” block.
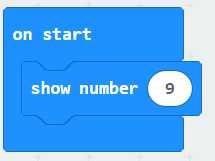
Now we want to display the number. Let’s say the number is to be displayed when the microbit starts. So, we can use the on start event handler as shown below
How to display images (from icon library)
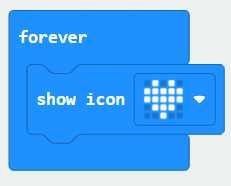
We will be displaying an image on the Microbit. So we will be using a show icon block to display an image.
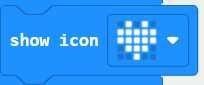
We can also select the image (which we want to display) from the icon library.
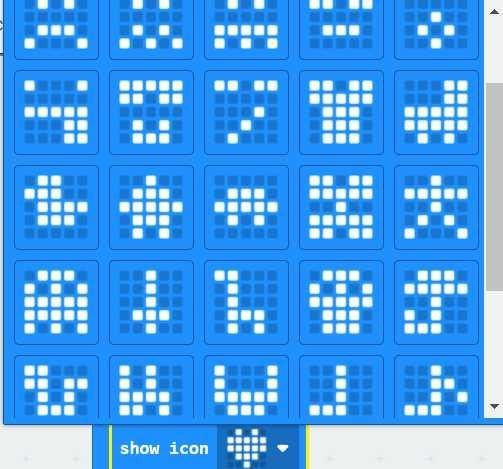
The show icon block needs to be stacked inside the forever loop or any other event handler.
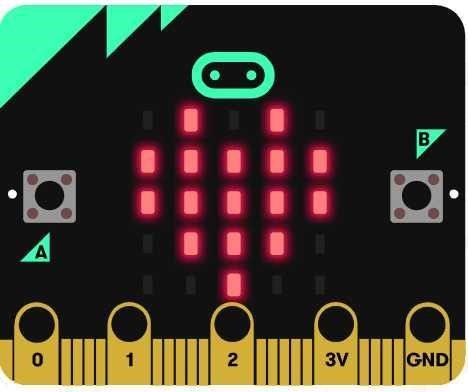
The same icon can be seen on the Microbit simulator (as shown in the picture)
How to display customized images
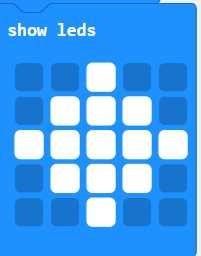
We want to create a particular image on the Microbit screen. For this show LED block is used.
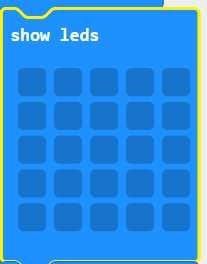
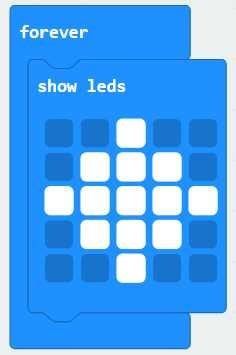
Now whatever pattern we want to create we can select the squares in the show LED block. For eg., A diamond pattern is made in the show LEDs block.
The “show LEDs” block should be stacked inside the forever loop or any other event handler.
So, we used the Microbit to display numbers, text, images, and customized images through the following blocks.

Angad enjoyed creating different displays on Microbit. He found amusing to explore more ways to use Microbit. Also with a good experience with Microbit, he has now started getting more interest in coding. He has also started taking Python online course at Skoolofcode. So, if you want that your child should create this Book a FREE trial class today. Hope you will enjoy coding on Microbit too!